
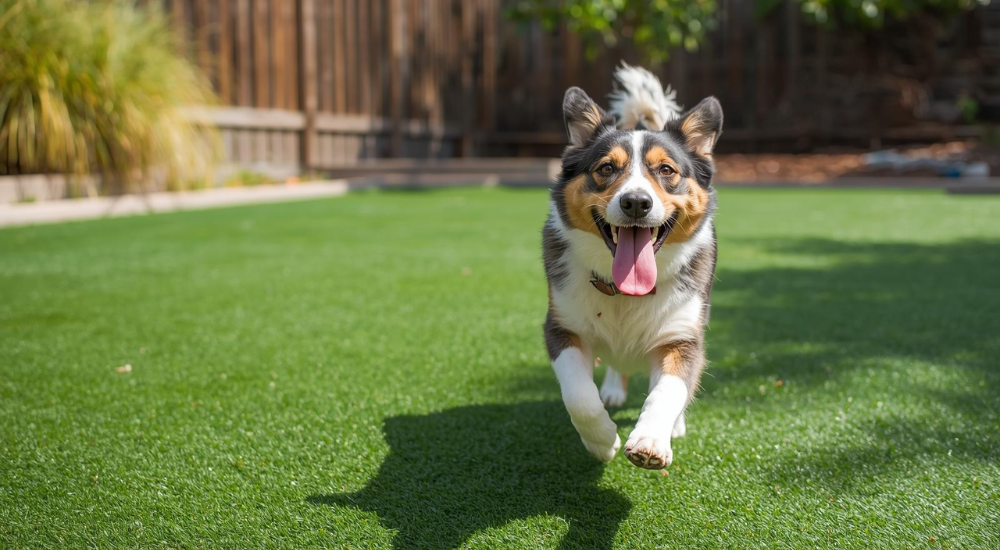
Want a lawn that looks lush all year, without giving up your weekends to watering, mowing, and weeding? Then, synthetic grass is a great option for you. It’s safe for kids and pets, and sturdy enough for your weekly sports training.
Best of all, you can install it yourself. This beginner-friendly guide will walk you through how to lay artificial grass in just one sunny afternoon.
What you’ll need
Materials:
- Synthetic grass
- Weed mat
- Dried sand
- Crushed rock
- Lawn pins
- Joining tape
Tools:
- Sharp utility knife
- Tape measure
- Rake and shovel
- Compactor
- Work gloves
- Power broom
Choosing your artificial grass
1. Work out your measurements
First things first: measure and mark your space using a tape measure. Be sure to note the length, width, and any curves or tricky corners.
Once you’ve got your measurements, work out which roll sizes you’ll need. Our turf rolls come in 4m wide by cut length or 2m wide by cut length. So, the width is fixed at either 4 meters or 2 meters, and the length is custom-cut to whatever size you need.
To keep things simple, convert your space into the nearest square or rectangle on paper. This makes it much easier to plan how many rolls you’ll need and how they’ll fit.
For example, a 5x5m area could be covered with a 4m(W)x5m(L) piece and a 2m(W) x 5m(L) piece. 1m would need to be cut from one of the pieces. Just remember every roll has to be laid in the same direction to keep the colour and pile consistent.
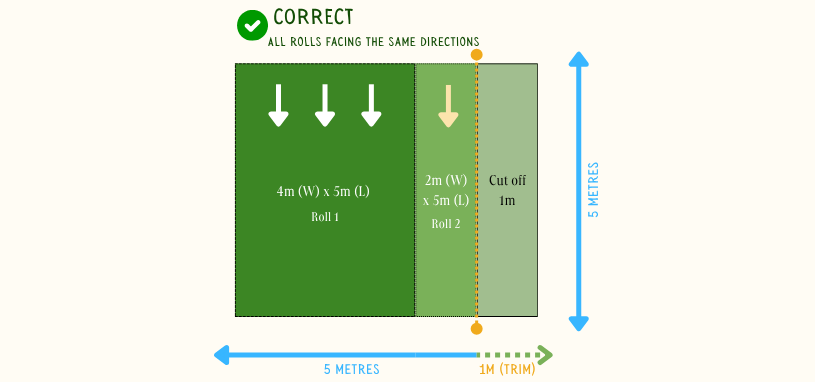
Try to adjust your garden beds so your lawn space is a multiple of 4m wide in at least one direction. Since our turf rolls are 4m wide, this means you can lay full rolls without cutting, which reduces the number of joins and gives you a cleaner, more seamless finish.
2. Select the turf that suits your space
You can choose from:
- 35mm Budget Grass: a cost-effective option for bigger spaces.
- 35mm Premium Grass: a good balance of comfort and durability.
- 40mm Luxury Grass: premium look and feel, perfect for feature lawns.
Always order a little extra so you’ve got some wiggle room for trimming and making neat joins. While you’re there, don’t forget your sand for the foundation and pins to secure the edges.
If you’re not sure which turf will suit your space, we can help with sizing and recommendations to make sure you get the right fit.
Preparing your space
3. Clear and level the ground
Start by getting rid of any stones, grass, weeds, or debris. Use a shovel or rake to dig out the top layer of soil until you’ve got a clean base.
The flatter you make it now, the better your finished lawn will look.
4. Lay a weed mat to prevent undergrowth
Roll out a weed mat across the whole area. This stops weeds from growing through your new lawn and helps maintain a stable base.
Pin it down with a few temporary pins so it doesn’t shift while you work.
5. Add a base layer of crushed rock
Spread a layer of 10mm or 20mm crushed rock to a minimum depth of 80mm. Compact it down in layers – lay 10-20mm at a time, compact it, then repeat until you reach your target depth. This step is super important! Make sure the surface is flat with a slight angle so water can run off. The crushed rock base provides drainage and keeps your turf stable.
Installing your synthetic turf
6. Roll out the turf
Lay your turf rolls out flat over the compacted base. If it’s been rolled up for a while or came out a bit creased, let it sit in the sun to soften and flatten out.
Don’t forget to make sure every piece runs in the same direction. If your space is L-shaped or has tricky corners, cut smaller sections that run the same way. Never flip the roll around, or you’ll end up with patches that don’t match.
7. Cut to size using a utility knife
Flip the turf over and use a sharp utility knife to trim it to size. Only cut the underside, not the grassy side. Work slowly and use a straight edge to keep your cuts neat.
Also, leave a little extra around the edges. You can always shave it back once the turf is pinned down.
8. Join seams with joining tape
If you’re using more than one roll, bring the edges together so the blades blend naturally. Slide the joining tape underneath and press the turf down. For busy spots like play areas or paths, add adhesive on top of the tape for extra hold.
Top tip: Leave about a finger-width gap between the edges of each roll for a more natural look.
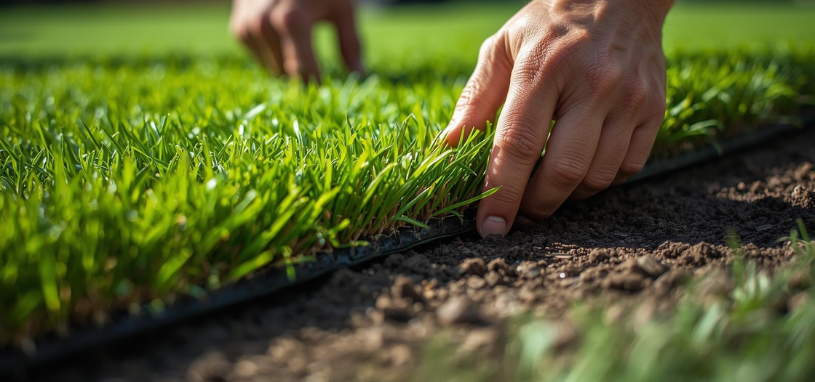
9. Secure the edges with lawn pins
Fix the perimeter with lawn pins about every 30 to 40cm. Knock them in just below the surface so they stay hidden, but hold tight. This stops the turf from lifting or shifting over time.
10. Brush the fibres upright and add turf sand
Add a layer of turf sand over the surface and use a Power Broom to spread it evenly. This helps the sand work into the fibres and makes your lawn look softer and more natural, just like freshly cut grass.
To finish, give the turf a light hose and let it settle for a few hours. Then it’s ready for a run around!


